Here is how I add a permanent hanging sleeve to wall quilts. The sleeve is sewn under the binding and gives you a strong and continuous sleeve so the quilt hangs well. I also use this sleeve on quilts hanging in shows, regardless of size. I simply leave the sleeve in place when I use the quilt.
You will need
- Sleeve fabric
- Rotary cutter and ruler
- Iron
- Quilt which needs a hanging sleeve
- Sewing machine with zig zag throat plate
- Thread
- Walking foot
- Sewing kit: pins, hand sewing needles, thread trimmers, thimble (optional)
- Hem guide (optional)
- Edgestitch presser foot (optional)
Step 1: Cut sleeve fabric
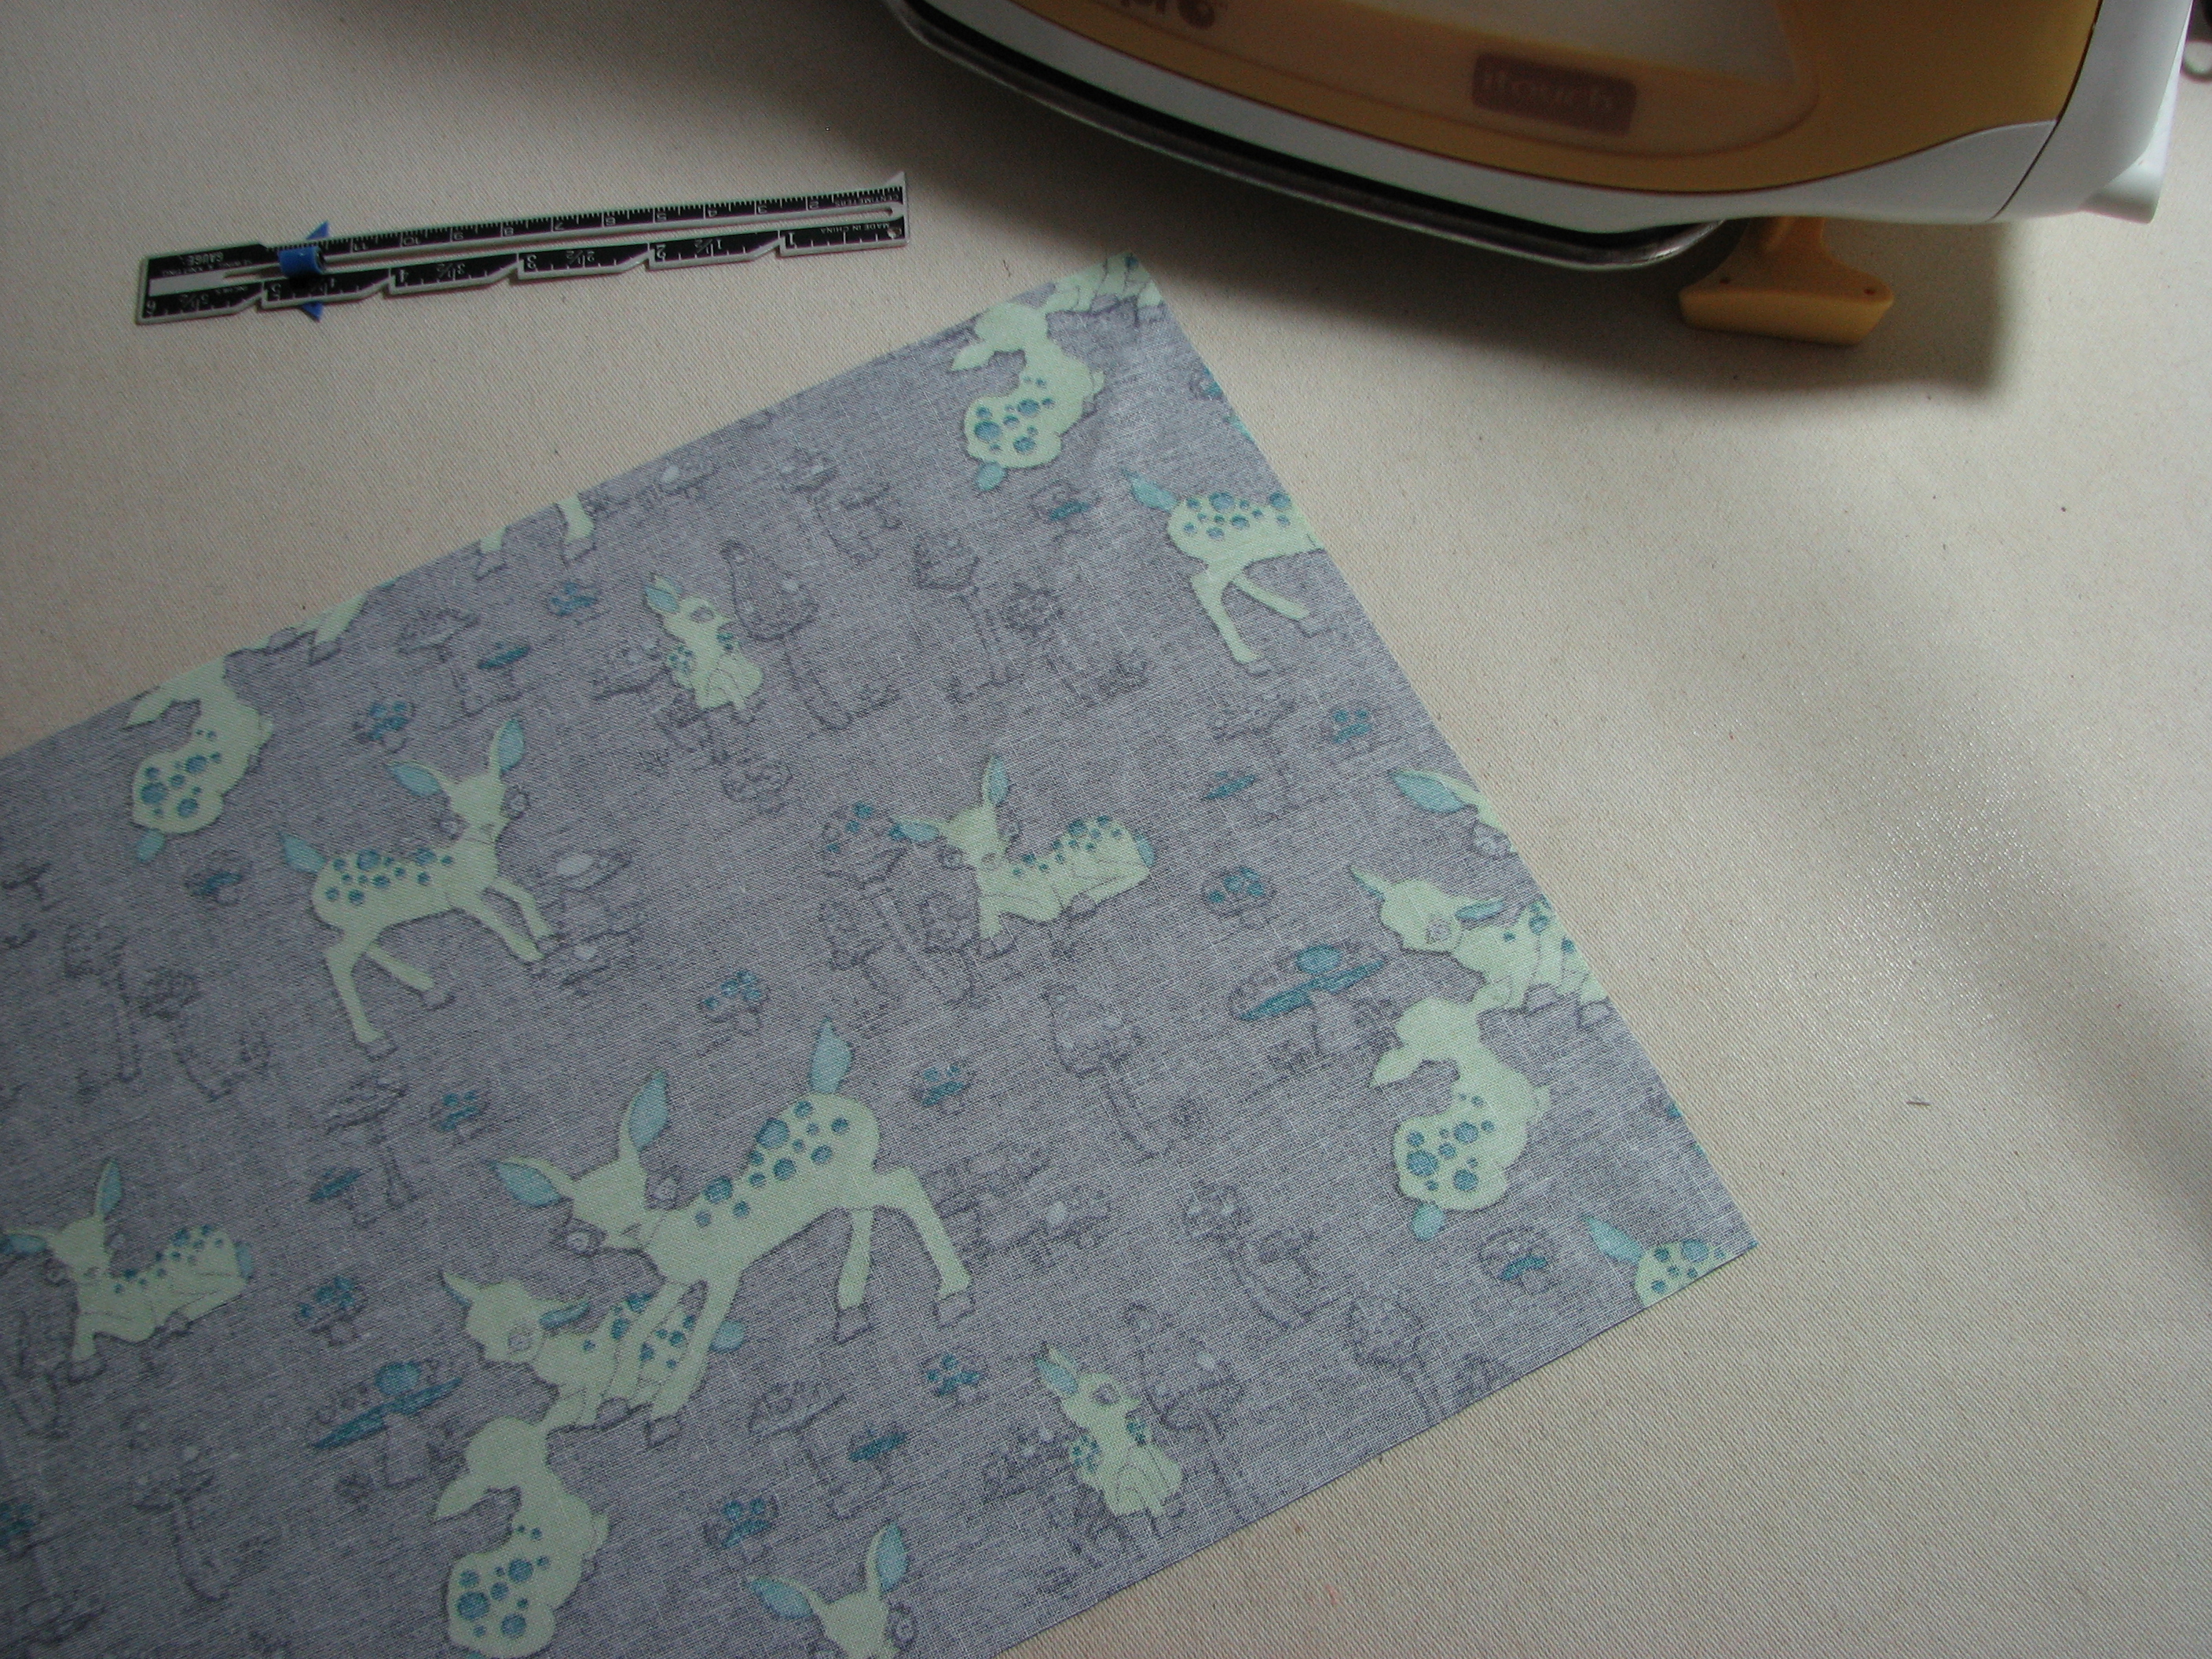 Cut a rectangle from your sleeve fabric that is the width of your quilt by twice your sleeve dimension plus 1/2 inch. After hemming, the sleeve will be 2 inches narrower than the top of your quilt. If you want a different width, adjust accordingly. Quilt shows frequently specify a hanging sleeve size.
Example 1: 50 inch wide quilt with a 4 inch sleeve – cut rectangle 50 inches by 8 1/2 inches [(2*4 inches)+1/2 inch]. The finished sleeve will be 48 inches wide.
Example 2: 20 inch wide quilt with 3 inch sleeve – cut sleeve 20 inches by 6 1/2 inches [(2*3 inches)+1/2 inch]. The finished sleeve will be 18 inches wide.
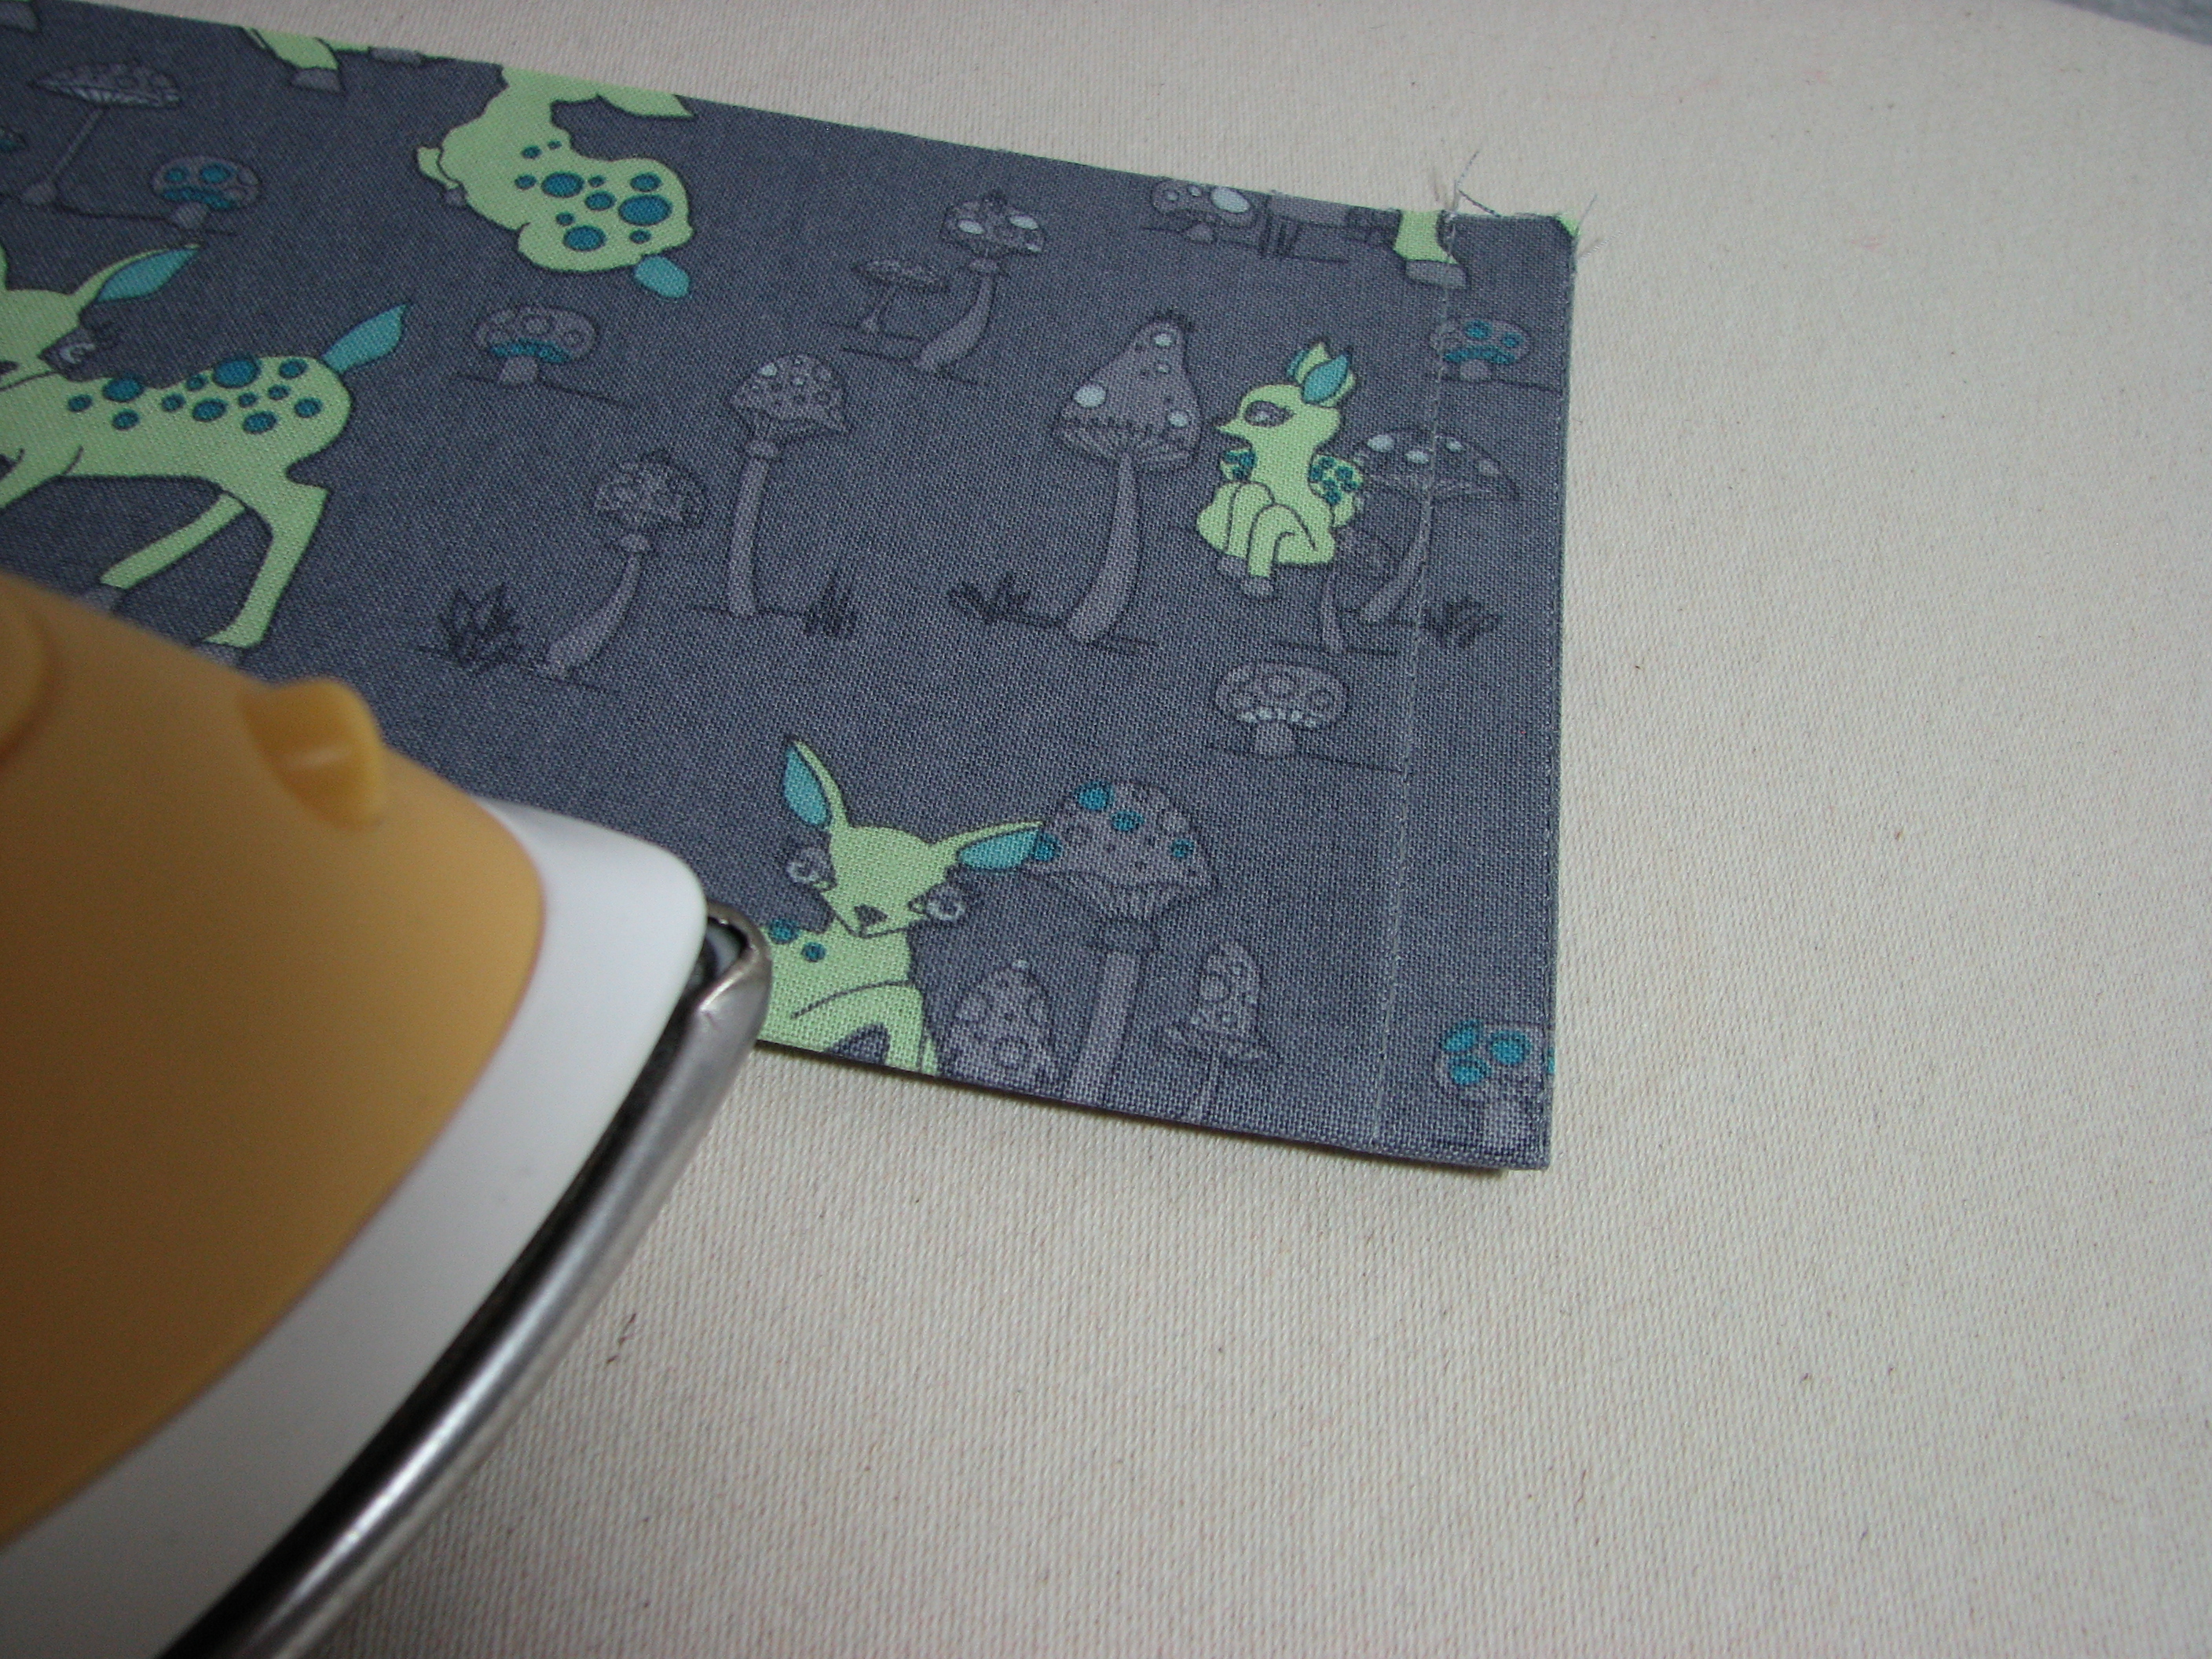
Step 2: Hem Sleeve

Turn under 1/2 inch wrong sides together (WST) on the short end of the sleeve rectangle. The hem guide is a useful measuring tool for this step. Press.

Turn under another 1/2 inch so raw edge is hidden. Press. Spray starch or sizing helps hold the creases.
Repeat for the other short end of the sleeve rectangle.
Step 3: Top Stitch the Hem
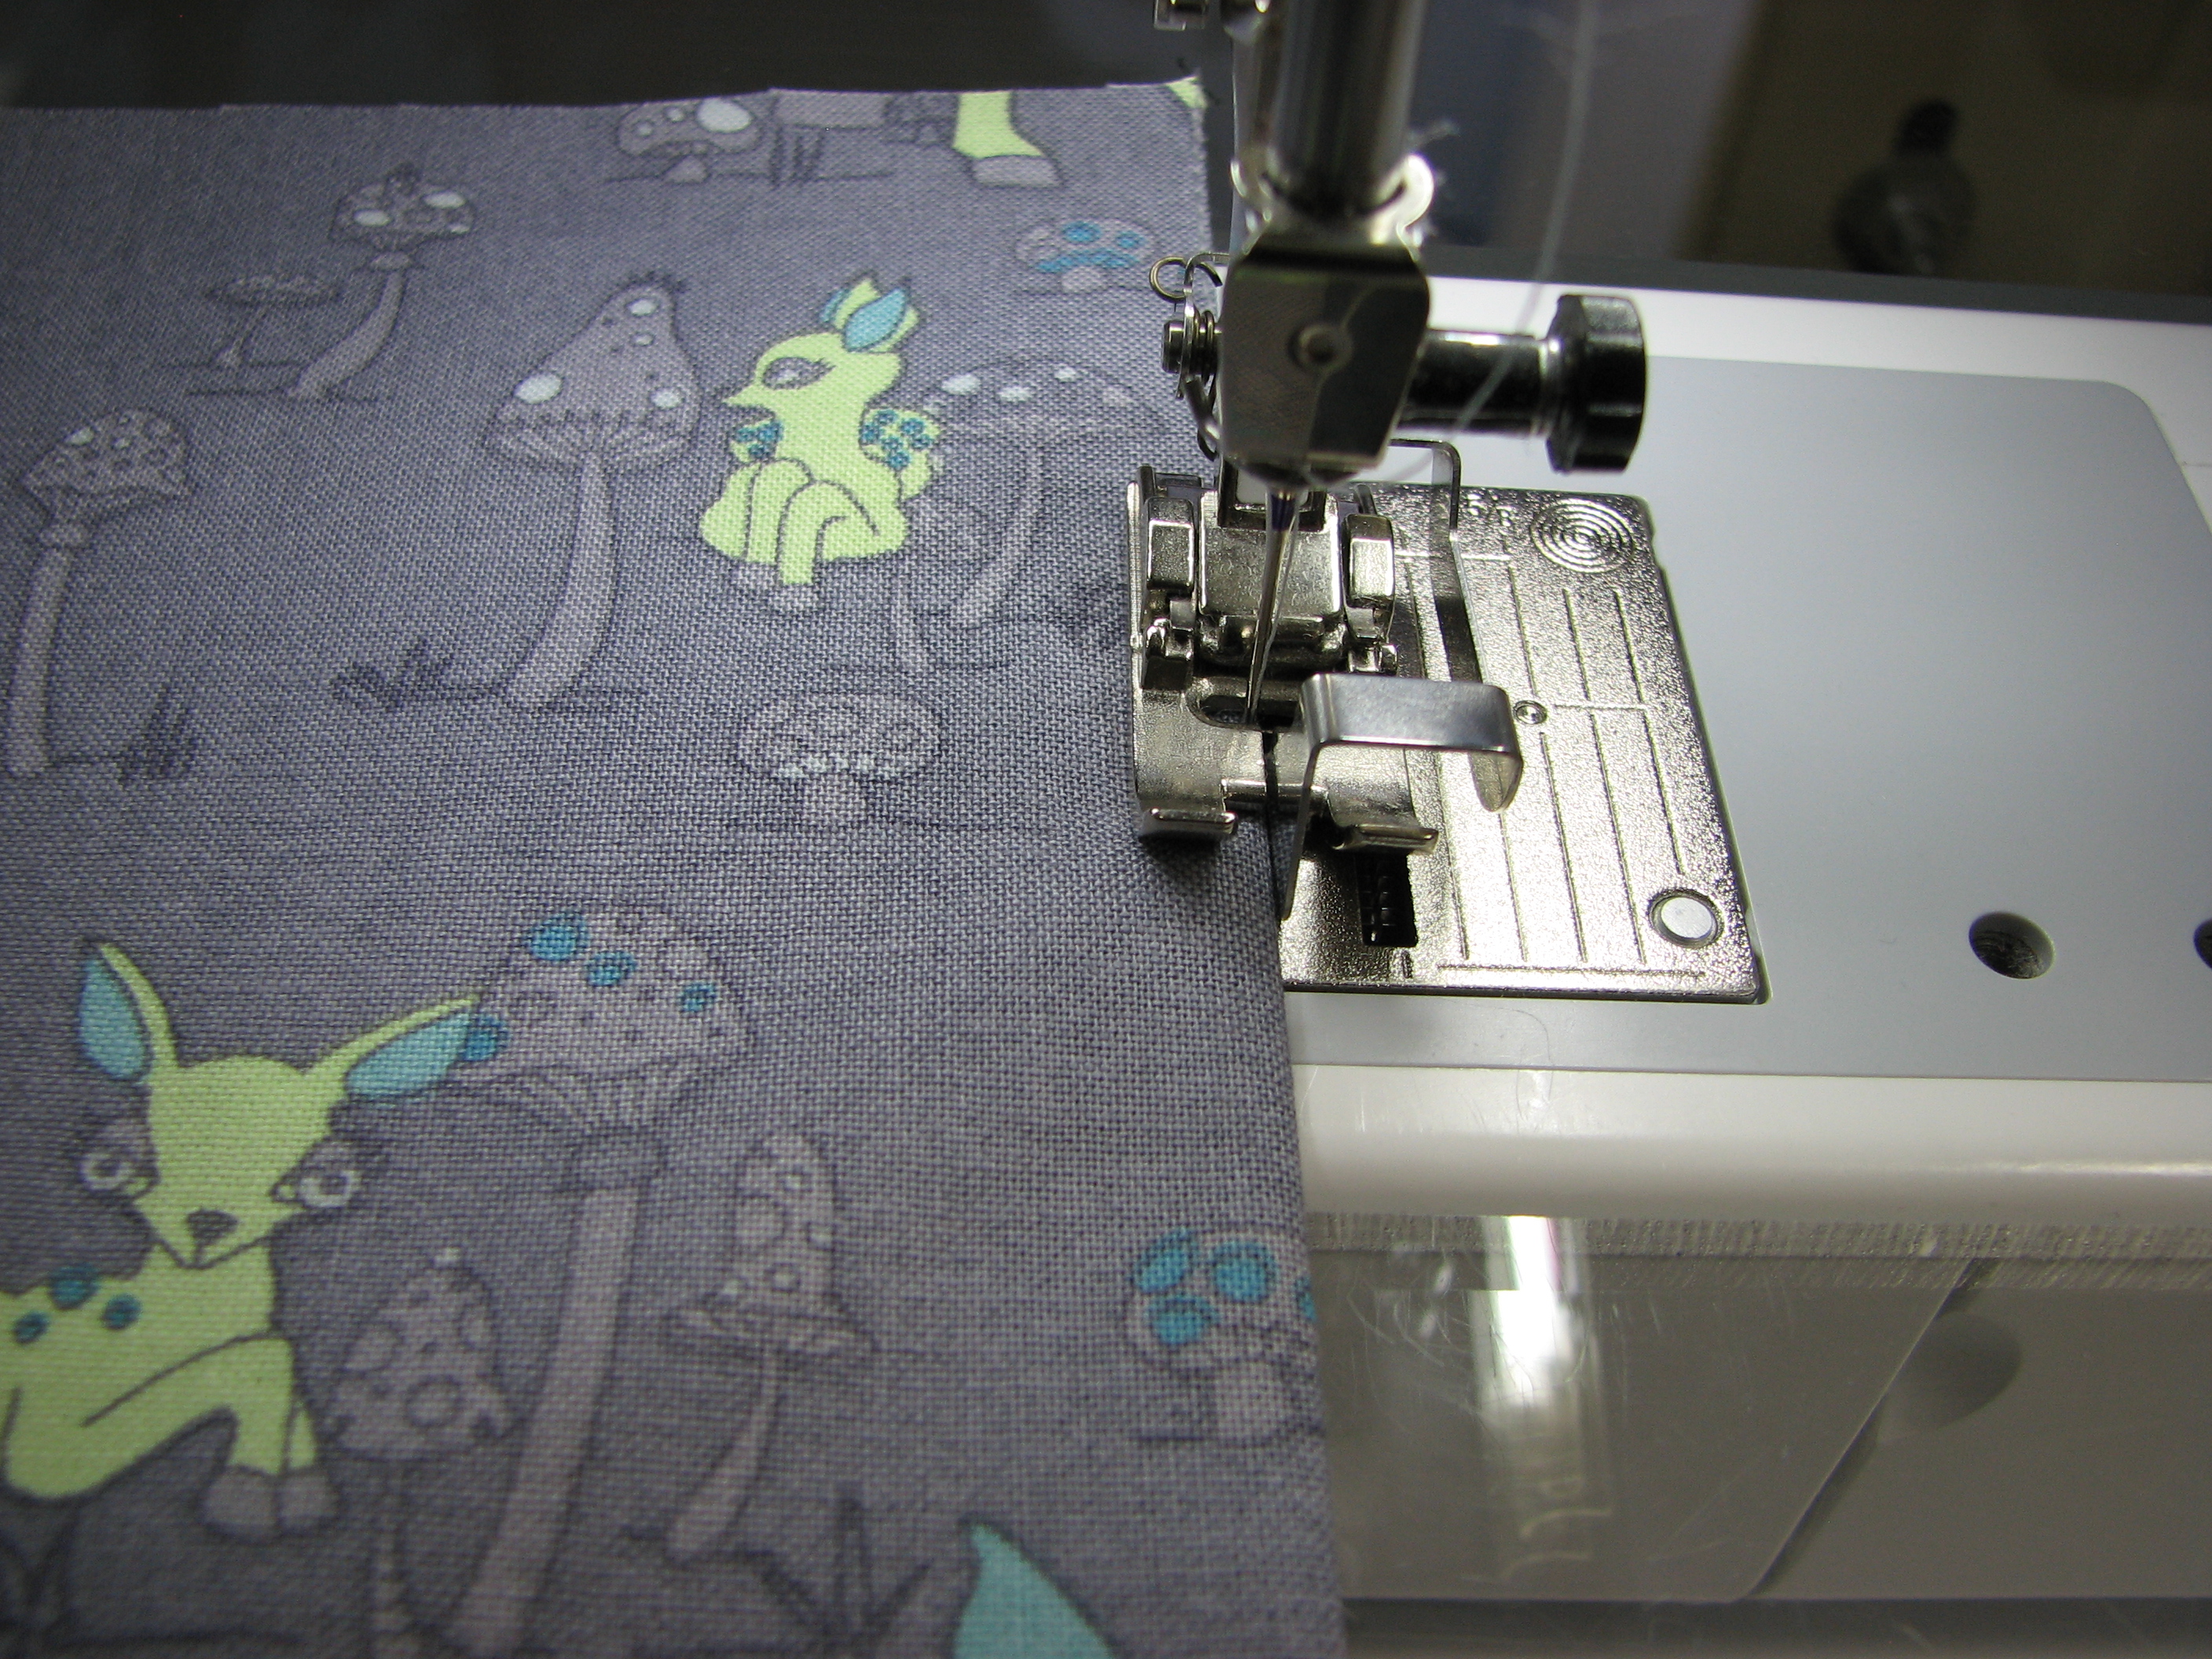
Set up your sewing machine with edgestitch presser foot. Adjust needle position to top stitch the folded edge. I use Bernina presser foot 10 and move the needle 2 to 3 steps to the left. IMPORTANT: If you use a single hole throat plate, change to the zig zag throat plate (I am sure you can figure out where that suggestion comes from).
Repeat for the other hem.
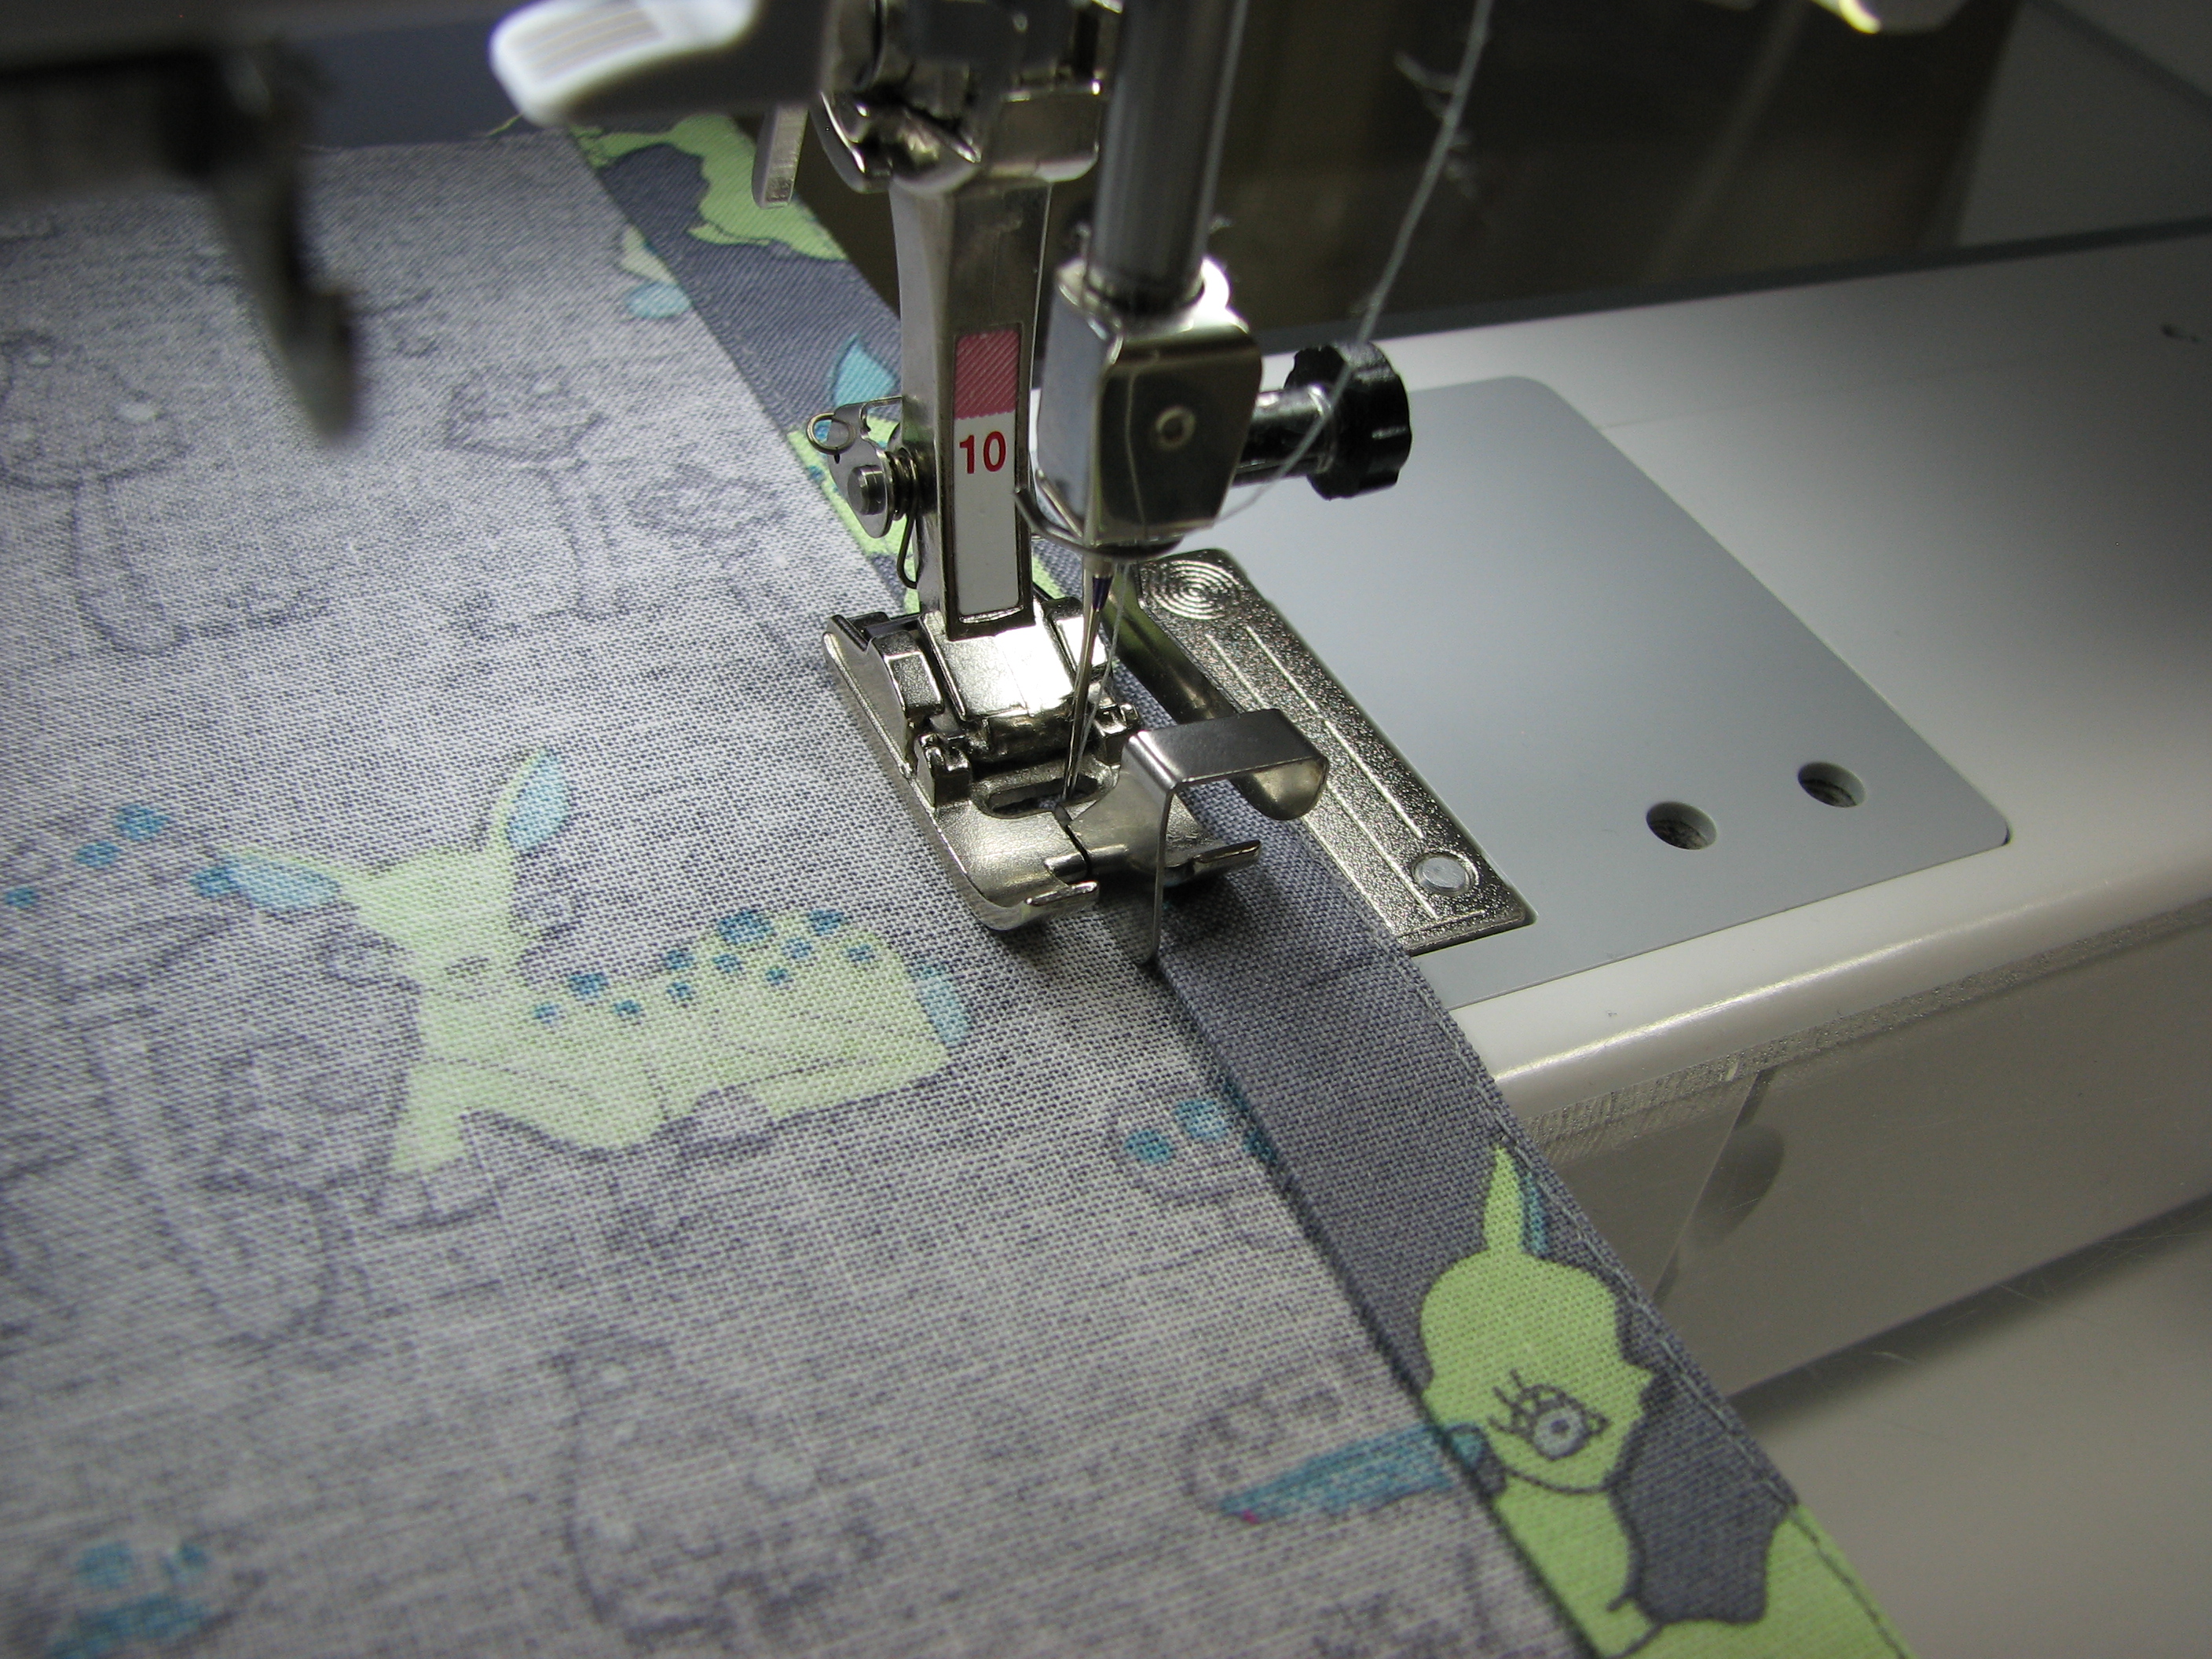
Adjust the needle position 2-3 steps to the right of center. Flip the sleeve over and top stitch the other folded edge.
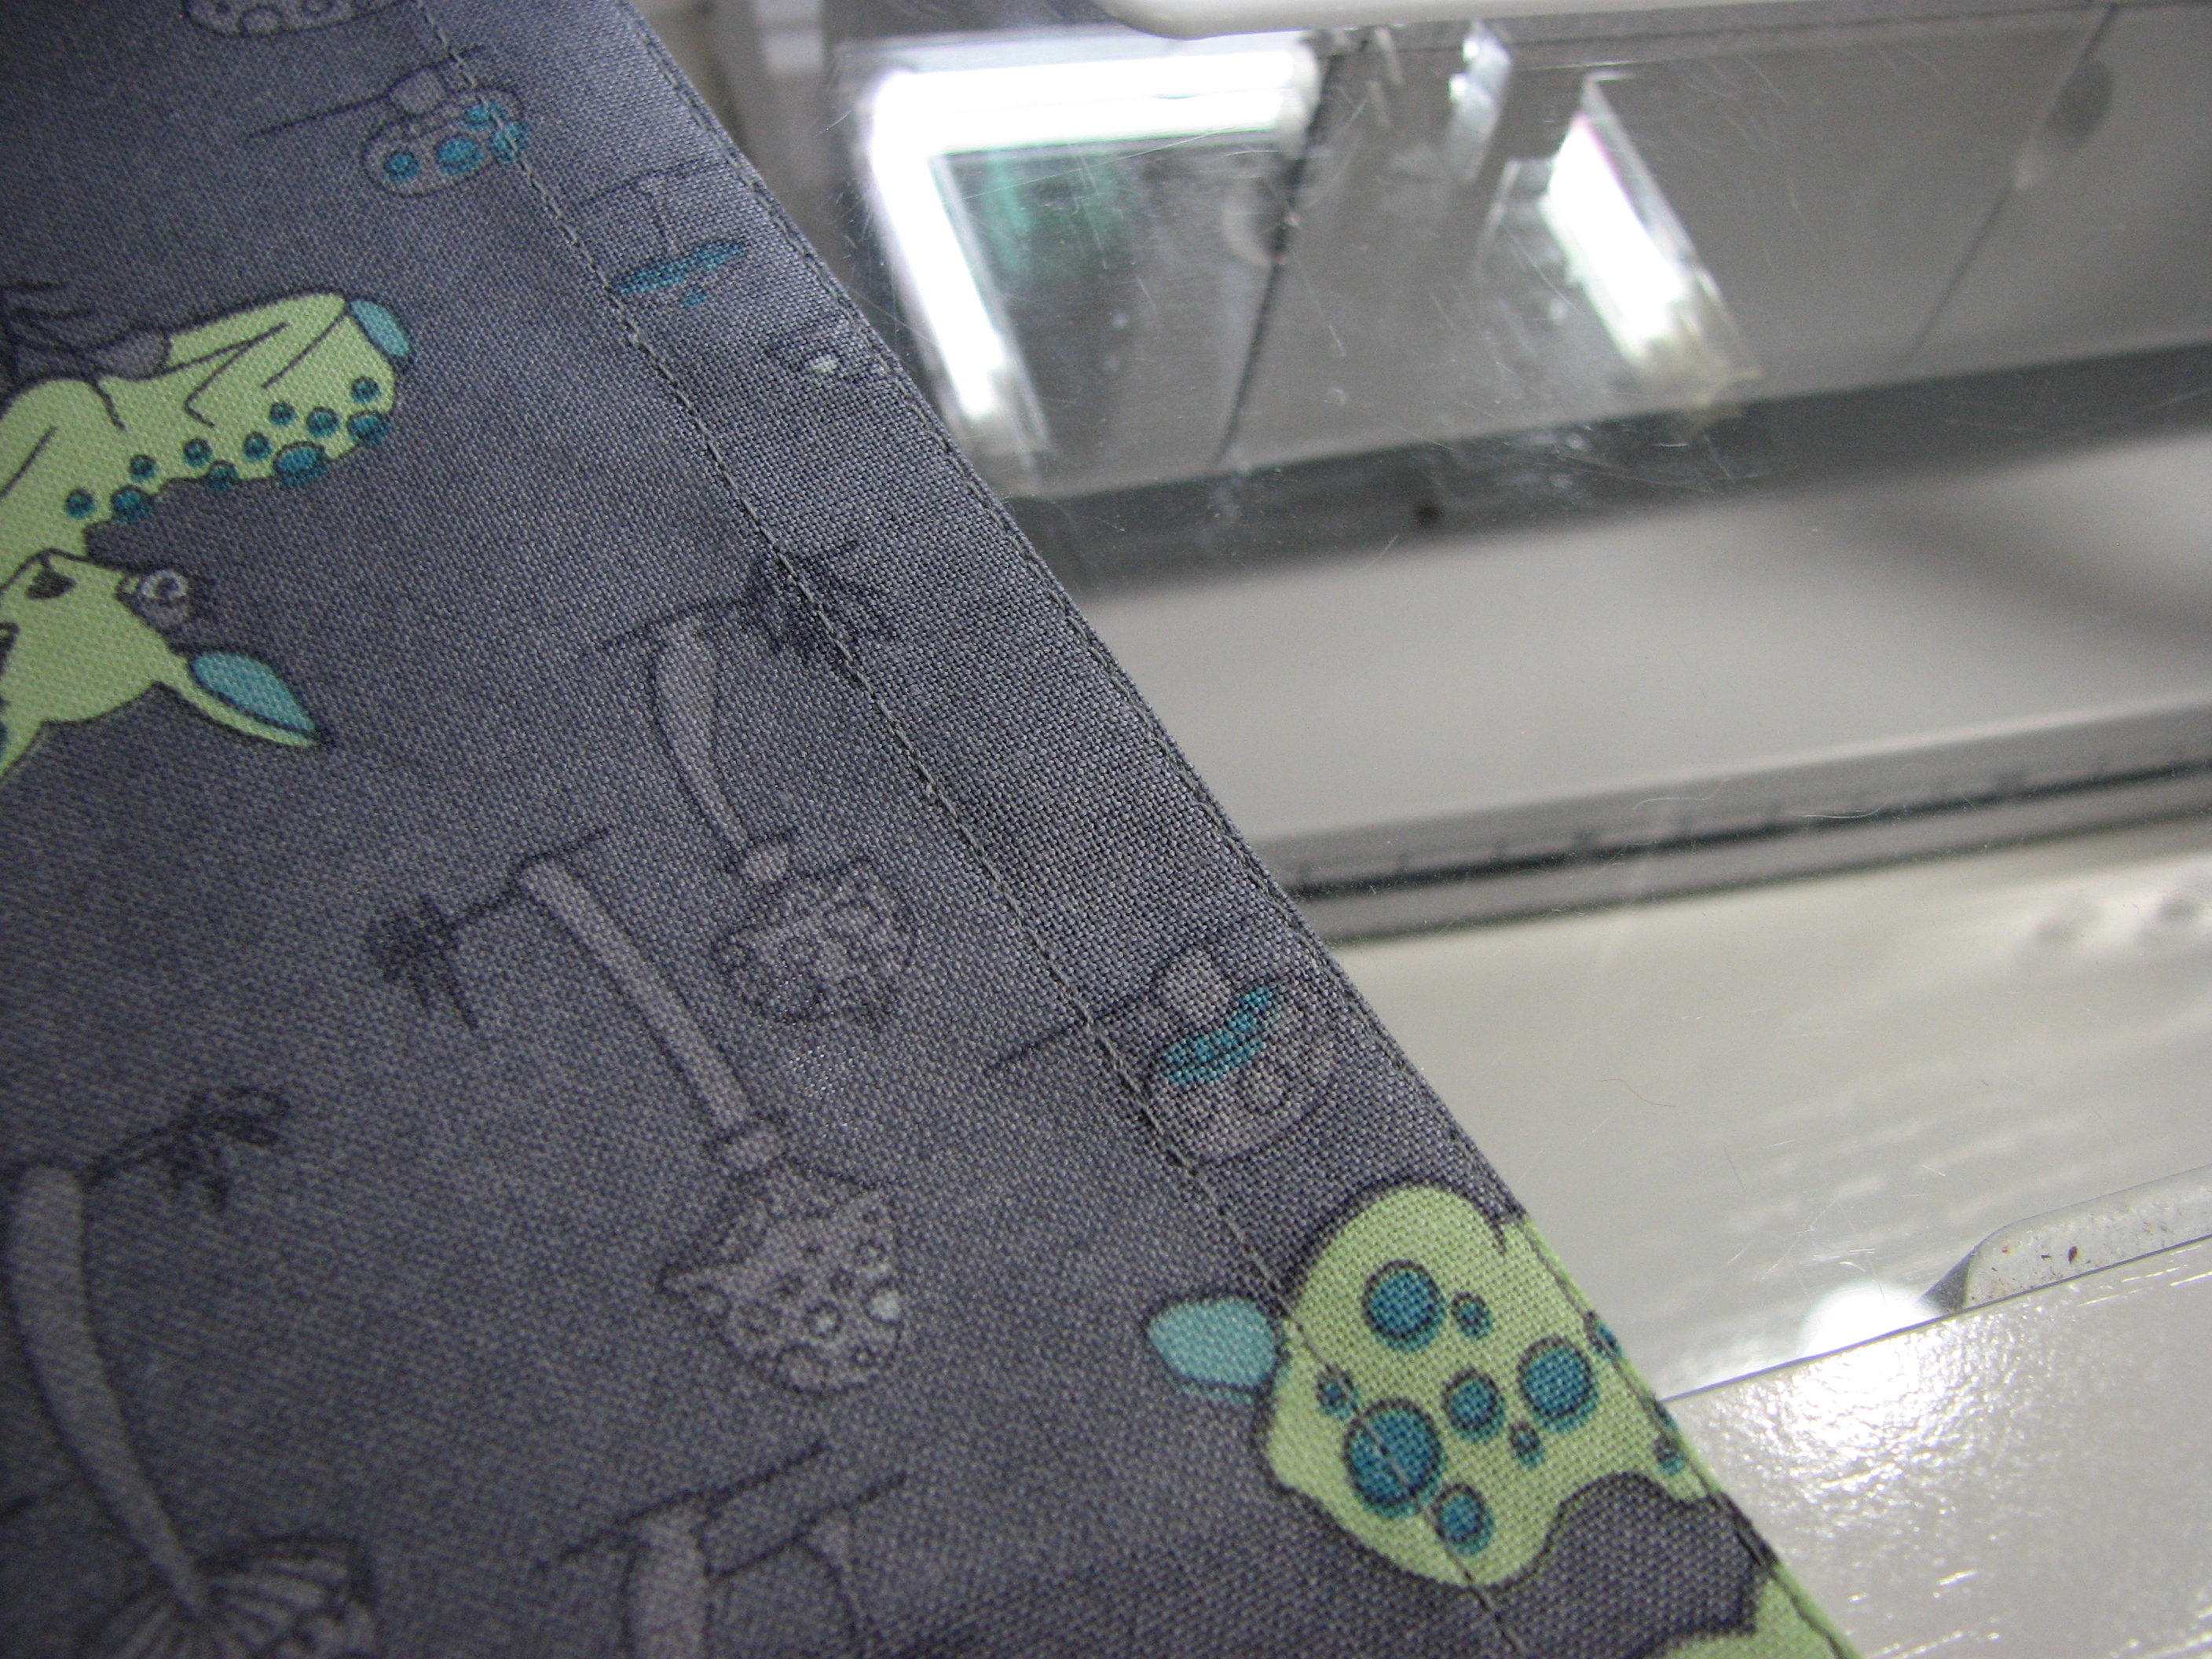
You will have two lines of stitching. Repeat for the other hemmed edge.
Step 4: Fold Sleeve
Fold sleeve in half WST lengthwise. Press the fold.
Step 5: Baste Sleeve to Quilt
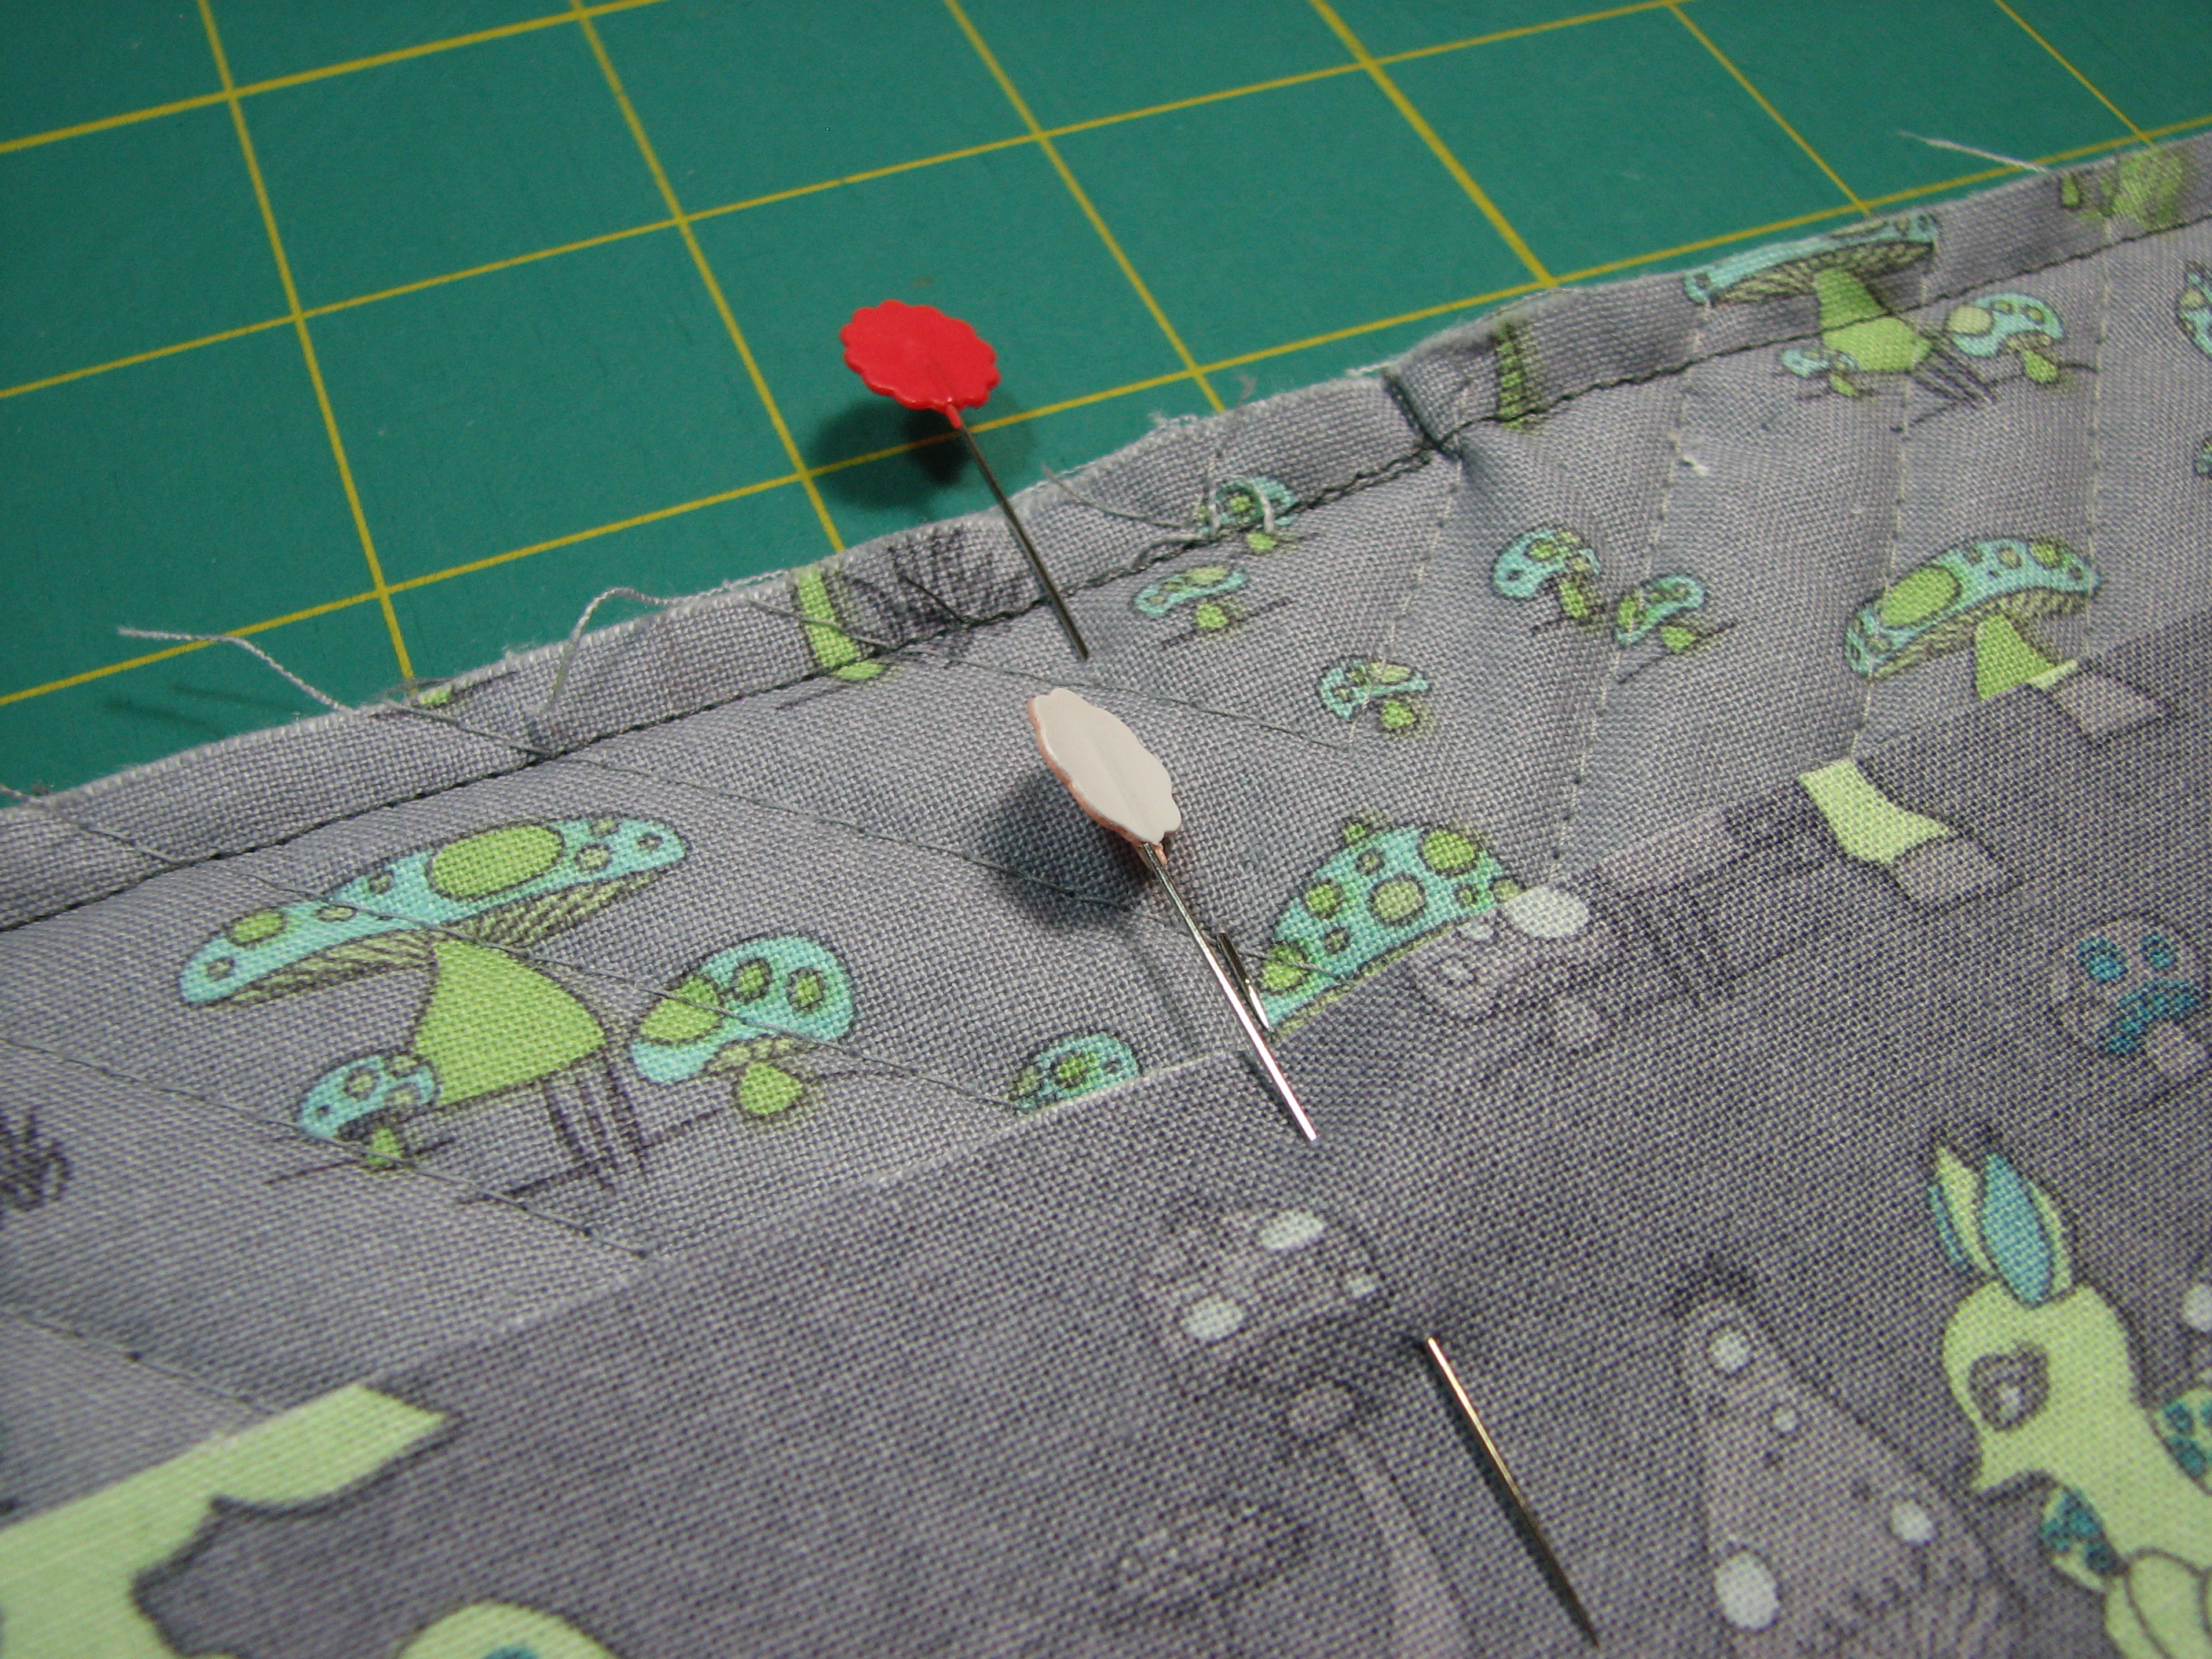
Find and mark the center of both the top of the quilt and the sleeve. I simply use a pin. Align the centers and pin the sleeve to the top edge of the quilt.

Put the walking foot on your machine. Using an 1/8th inch seam allowance, baste sleeve to top of the quilt. I usually lengthen my stitch length to 3.0.
Step 6: Bind the Quilt
Attach your binding to the front of the quilt with your regular seam allowance. The binding will hide the sleeve basting stitches.
Turn the binding to the back of the quilt and stitch. I hand stitch my binding and stitch through the sleeve and catch a bit of the batting. My hand stitches form the top of the hanging sleeve.
Step 7: Finishing the Sleeve
 A round hanging rod may cause the top of your quilt to bulge if your hanging sleeve is flat. To get the quilt to hang better, I add a bit of ease to the sleeve. Roll the top of the sleeve over the binding about a 1/4 inch. If the fold of the sleeve goes beyond the quilt edge, you may be able to see the sleeve when it is hanging.
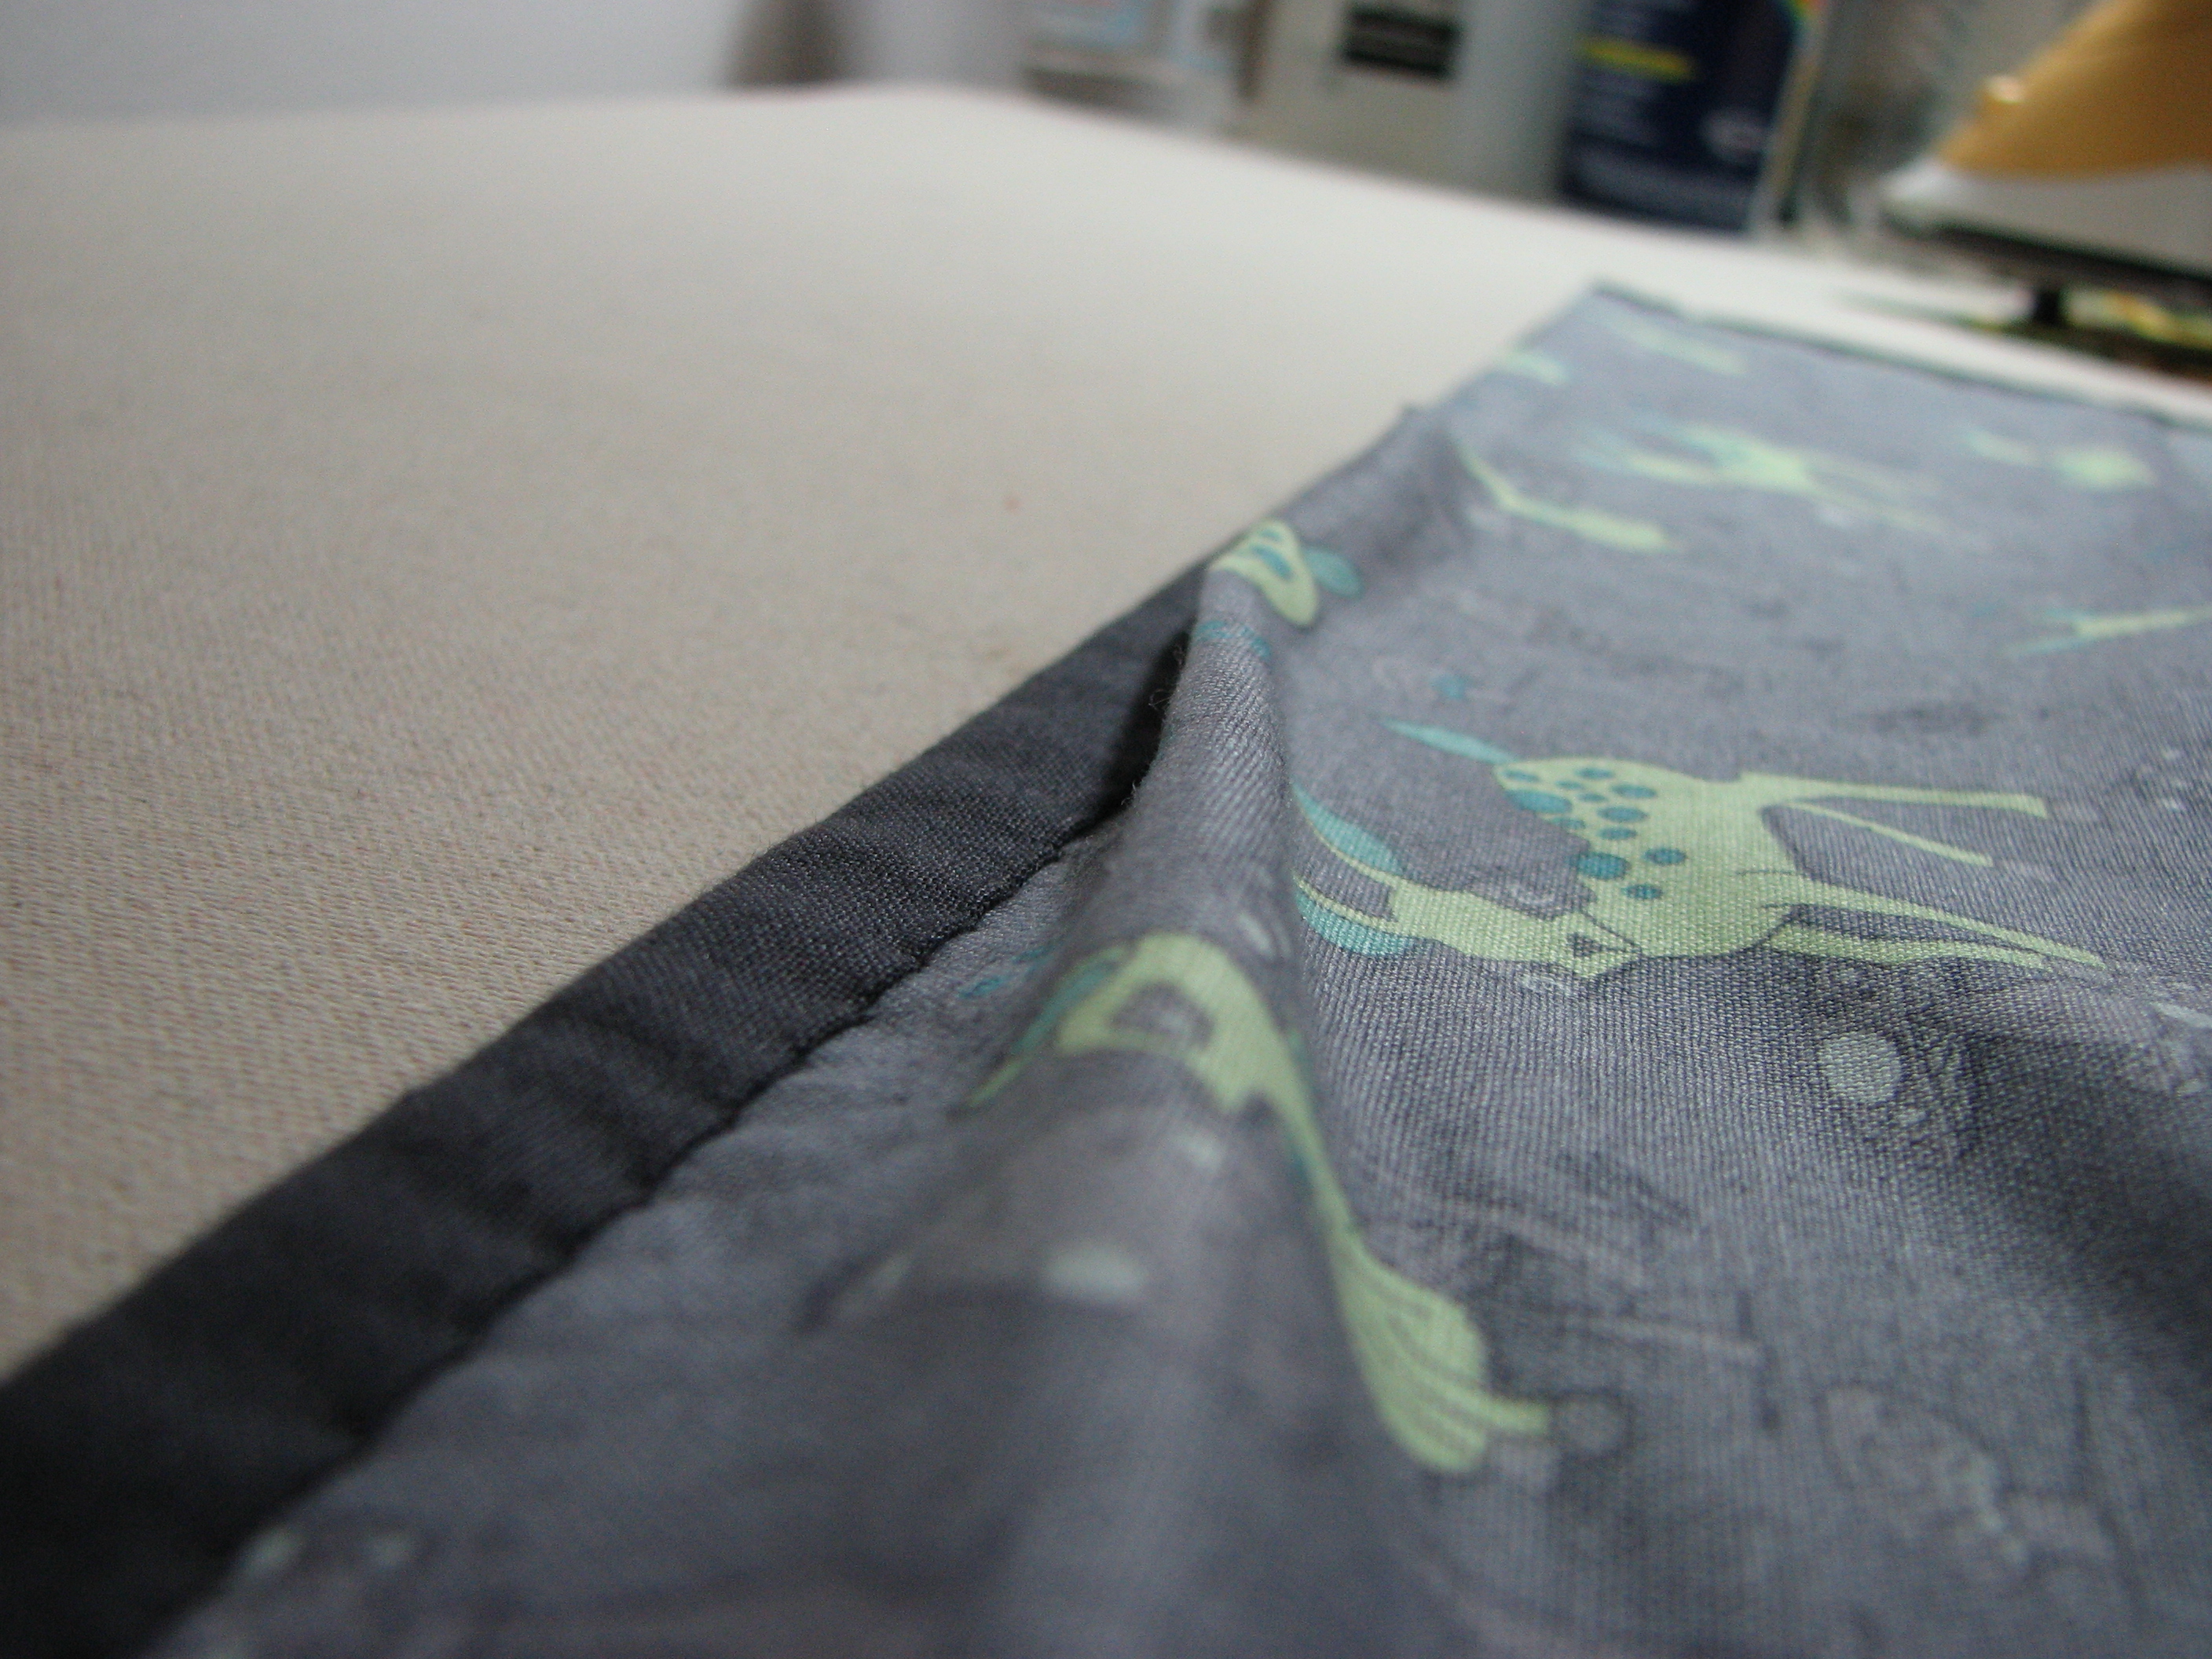

Press the sleeve to create a crease across the top and bottom of the sleeve.
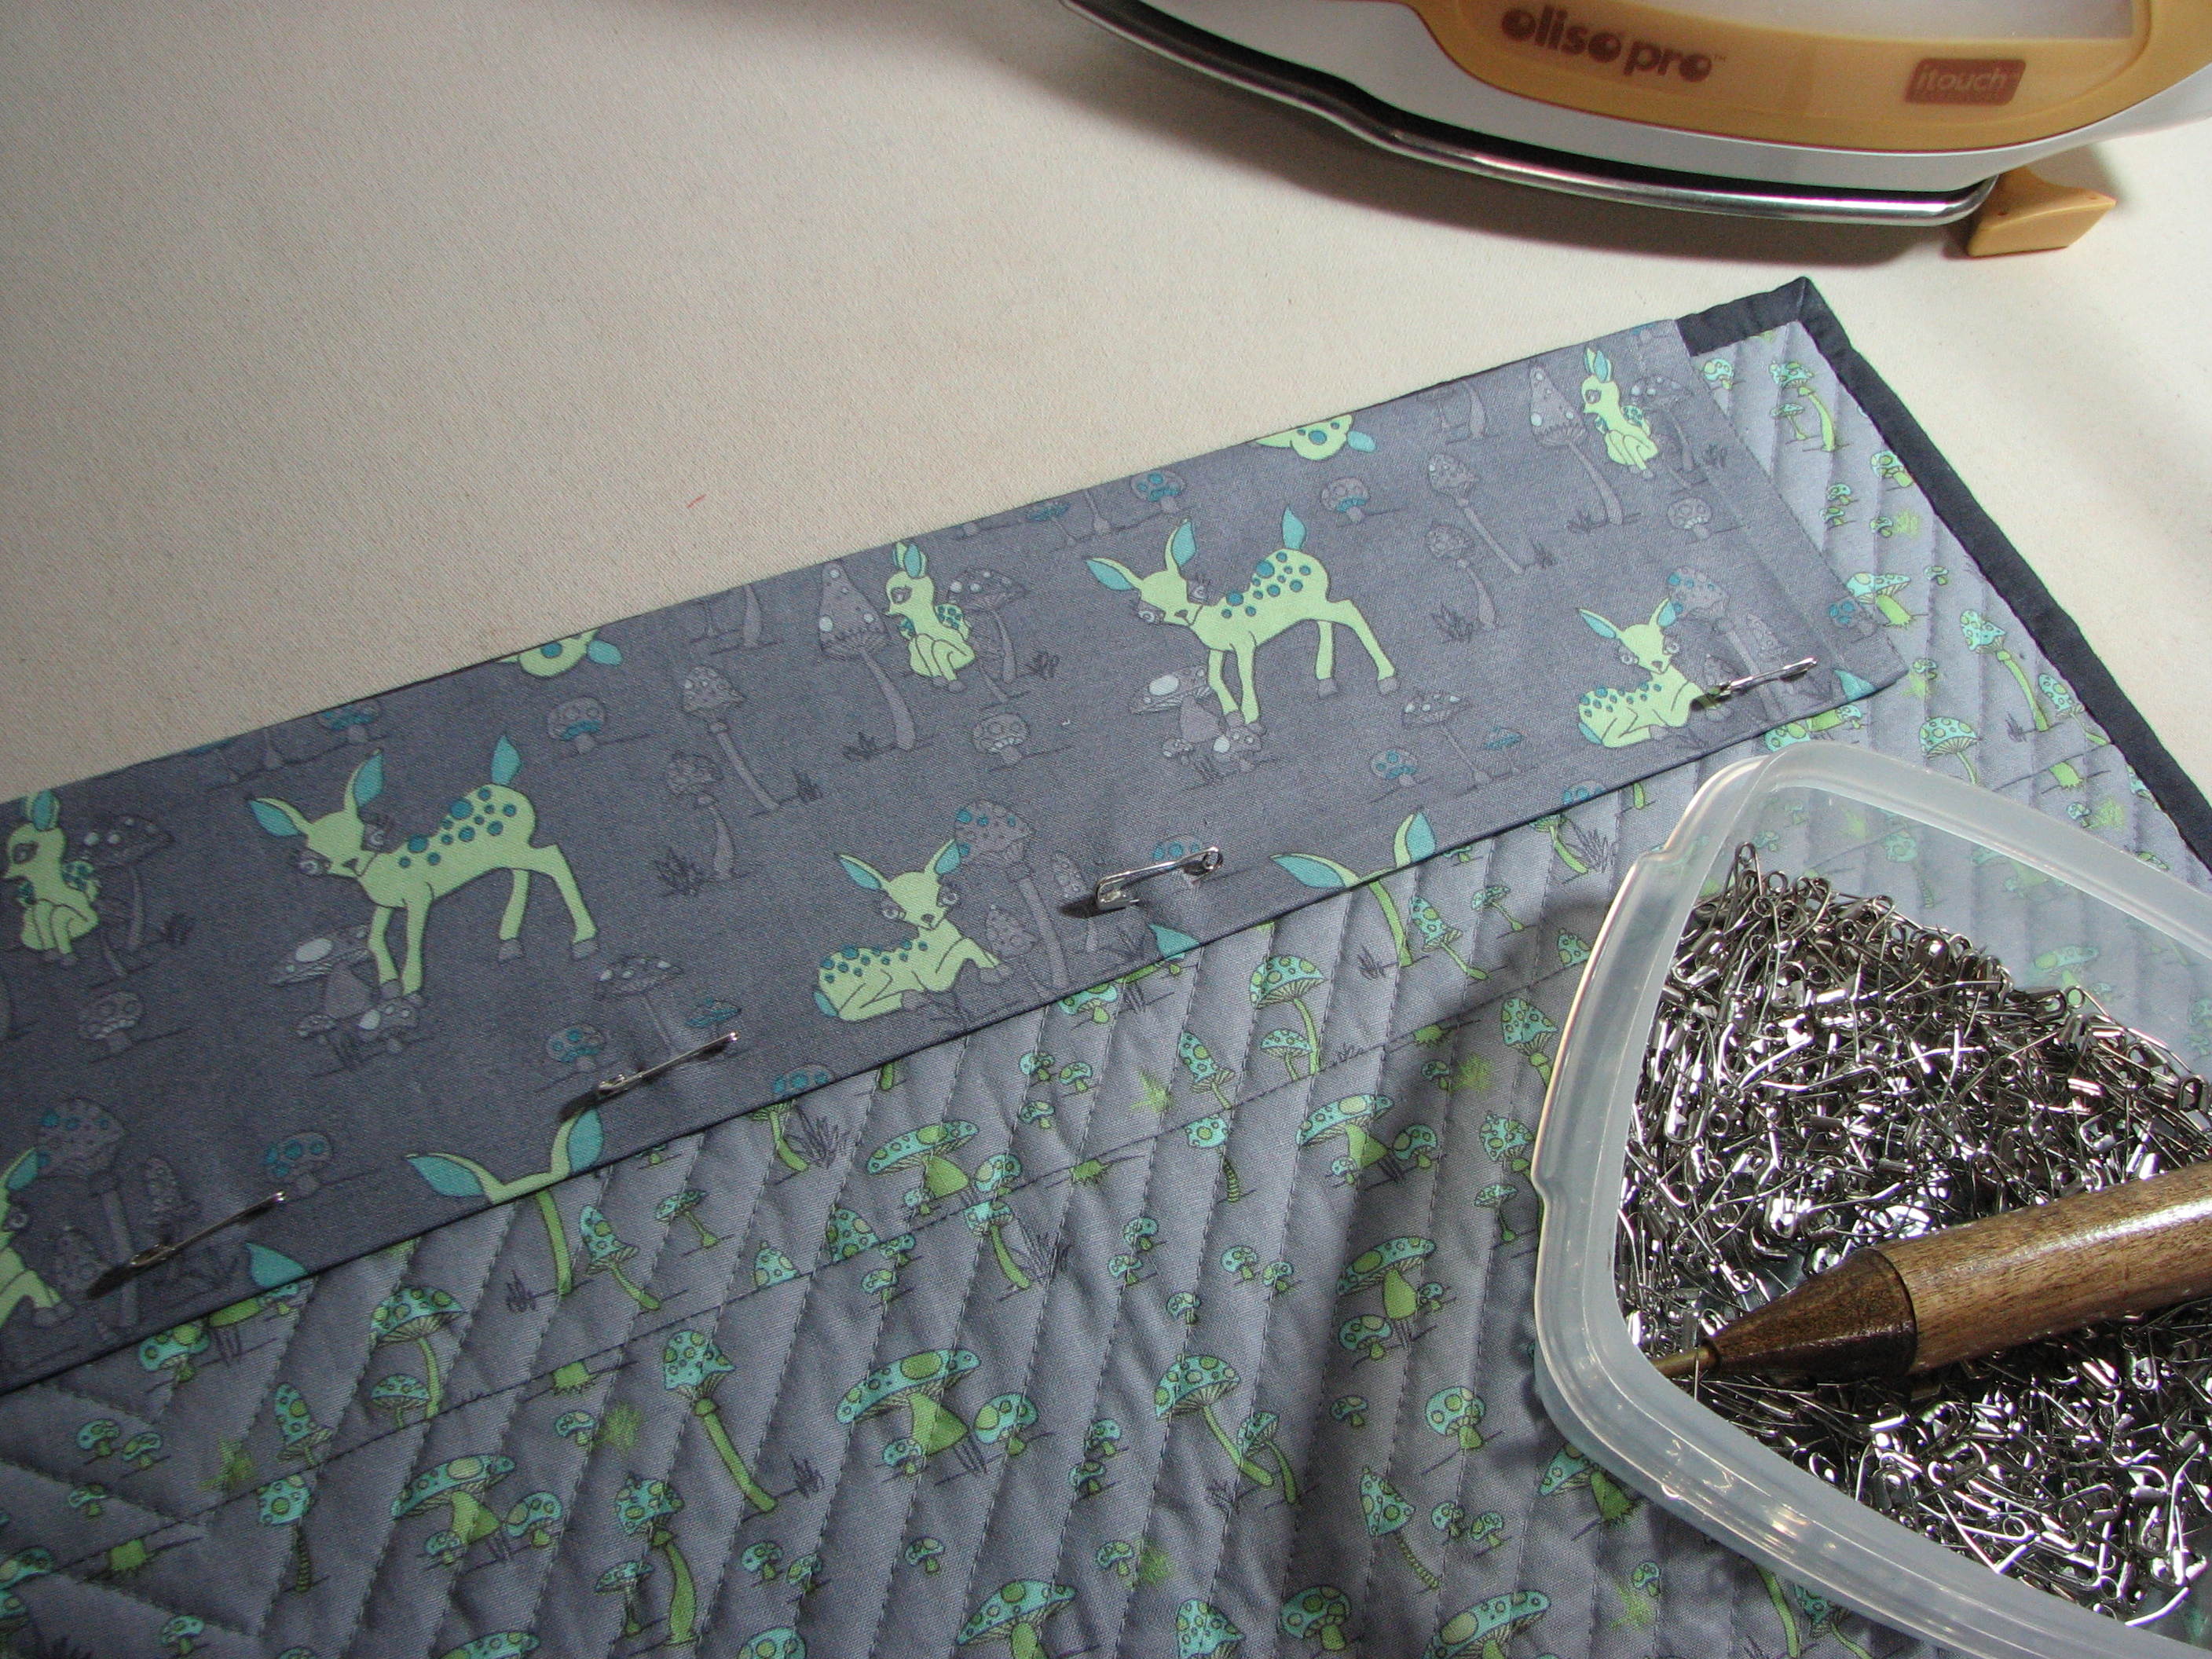
Pin the bottom of the sleeve. Hand stitch the bottom edge. Tada! Your sleeve is strong, secure and ready to support your quilt.
If you’ve gotten this far and you’re dying to know what the front of this quilt looks like, it’s Churn Dash 2: Complementary.
